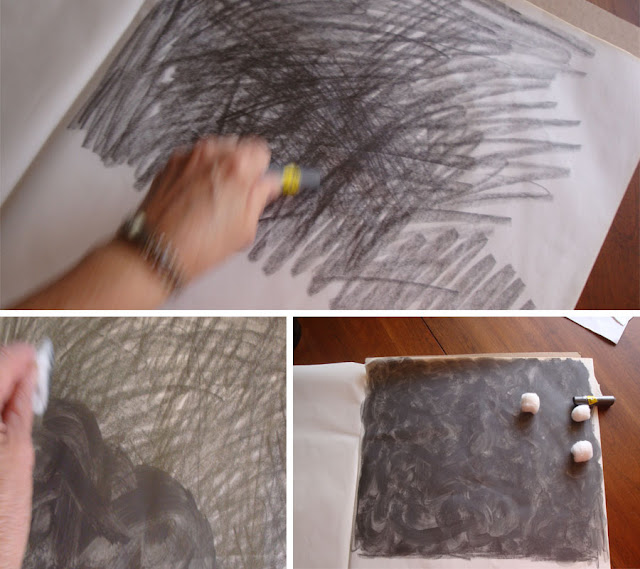
So let's get started. Here is your check list of materials:
- Bestine--- This is a solvent for rubber cement that you can find at the big box stores or your local art supply store.
- Graphite Stick ---You can find this at your local art supply store. Any soft graphite pencil will do, but you will appreciate using the large, thick graphite stick.
- Cotton Balls
- Tracing Paper---In the picture on the right, I am using Albanene tracing paper, 100% rag, which I love and will whine if forced to use anything else. Any quality paper will do. (If you use a quality tracing paper, you can reuse your paper again by simply applying more graphite.)
To use, you simply place the art that you want transferred on the top of your transfer sheet (graphite side placed against the area you want the art transferred to: wall, canvas, paper, etc.) and begin to outline with a ball point pen to transfer your art. You can clean up any unwanted lines later with a Kneaded Eraser. ~Sandy~


